| Home |
| Jumper Cable Accessory |
|
Email John
|
| Created 07/16/2013 Last update 07/20/2013 |
2000 Watt Inverter Installation

Living up here in the mountains like I do, a chain saw is a vital tool to be kept in the vehicle at all times so that one can cut his way in or out when trees fall across the road. I had a tiny little McCullough gas saw but it stank up the cab of my truck and was always hard to start. Not to mention having to keep fresh fuel in the thing.
So I decided to go electric. So I ordered a Harbor Freight 2000 watt inverter that I'd had good results with in the past, some #2 welding cable, a few Anderson Connectors and a few solder type terminal lugs. Oh, and not to forget, the use of the incomparable Fluxeon® Roy 1500 induction heater with flux concentrator. If you don't have an induction heater, a small butane torch will do in a pinch but it doesn't do nearly so neat a job.
The lugs and Anderson can be had from Cloud Electric. The "175 amp" Anderson connector (you'll need 2 or 3) is part number DS-6325G5. The 2 gauge cable lug is part number BT-4802F. You'll need 2 of those. Finally, you'll need about 5 ft each of #2 welding cable in red and black. If you want to make a gonzo set of jumper cables, get about 10 more feet of each color and 2 500 amp battery clips from NAPA.
The nifty thing about Anderson Connectors is that they're hermaphroditic. That is, they'll mate to each other. No such thing as a male and a female. This makes several things very convenient.
One thing that is very nice to have is a jumper cable with clips on one end and the Anderson connector on the other. That kind of jumper isn't worth stealing except for its copper so you don't have to be so careful with it. It'll plug right into the Anderson connector we're about to install. And if you want to run the inverter on some other vehicle, just plug the jumper cable Anderson connector into the one on the inverter.
OK, now that we have all that settled, let's get to work.
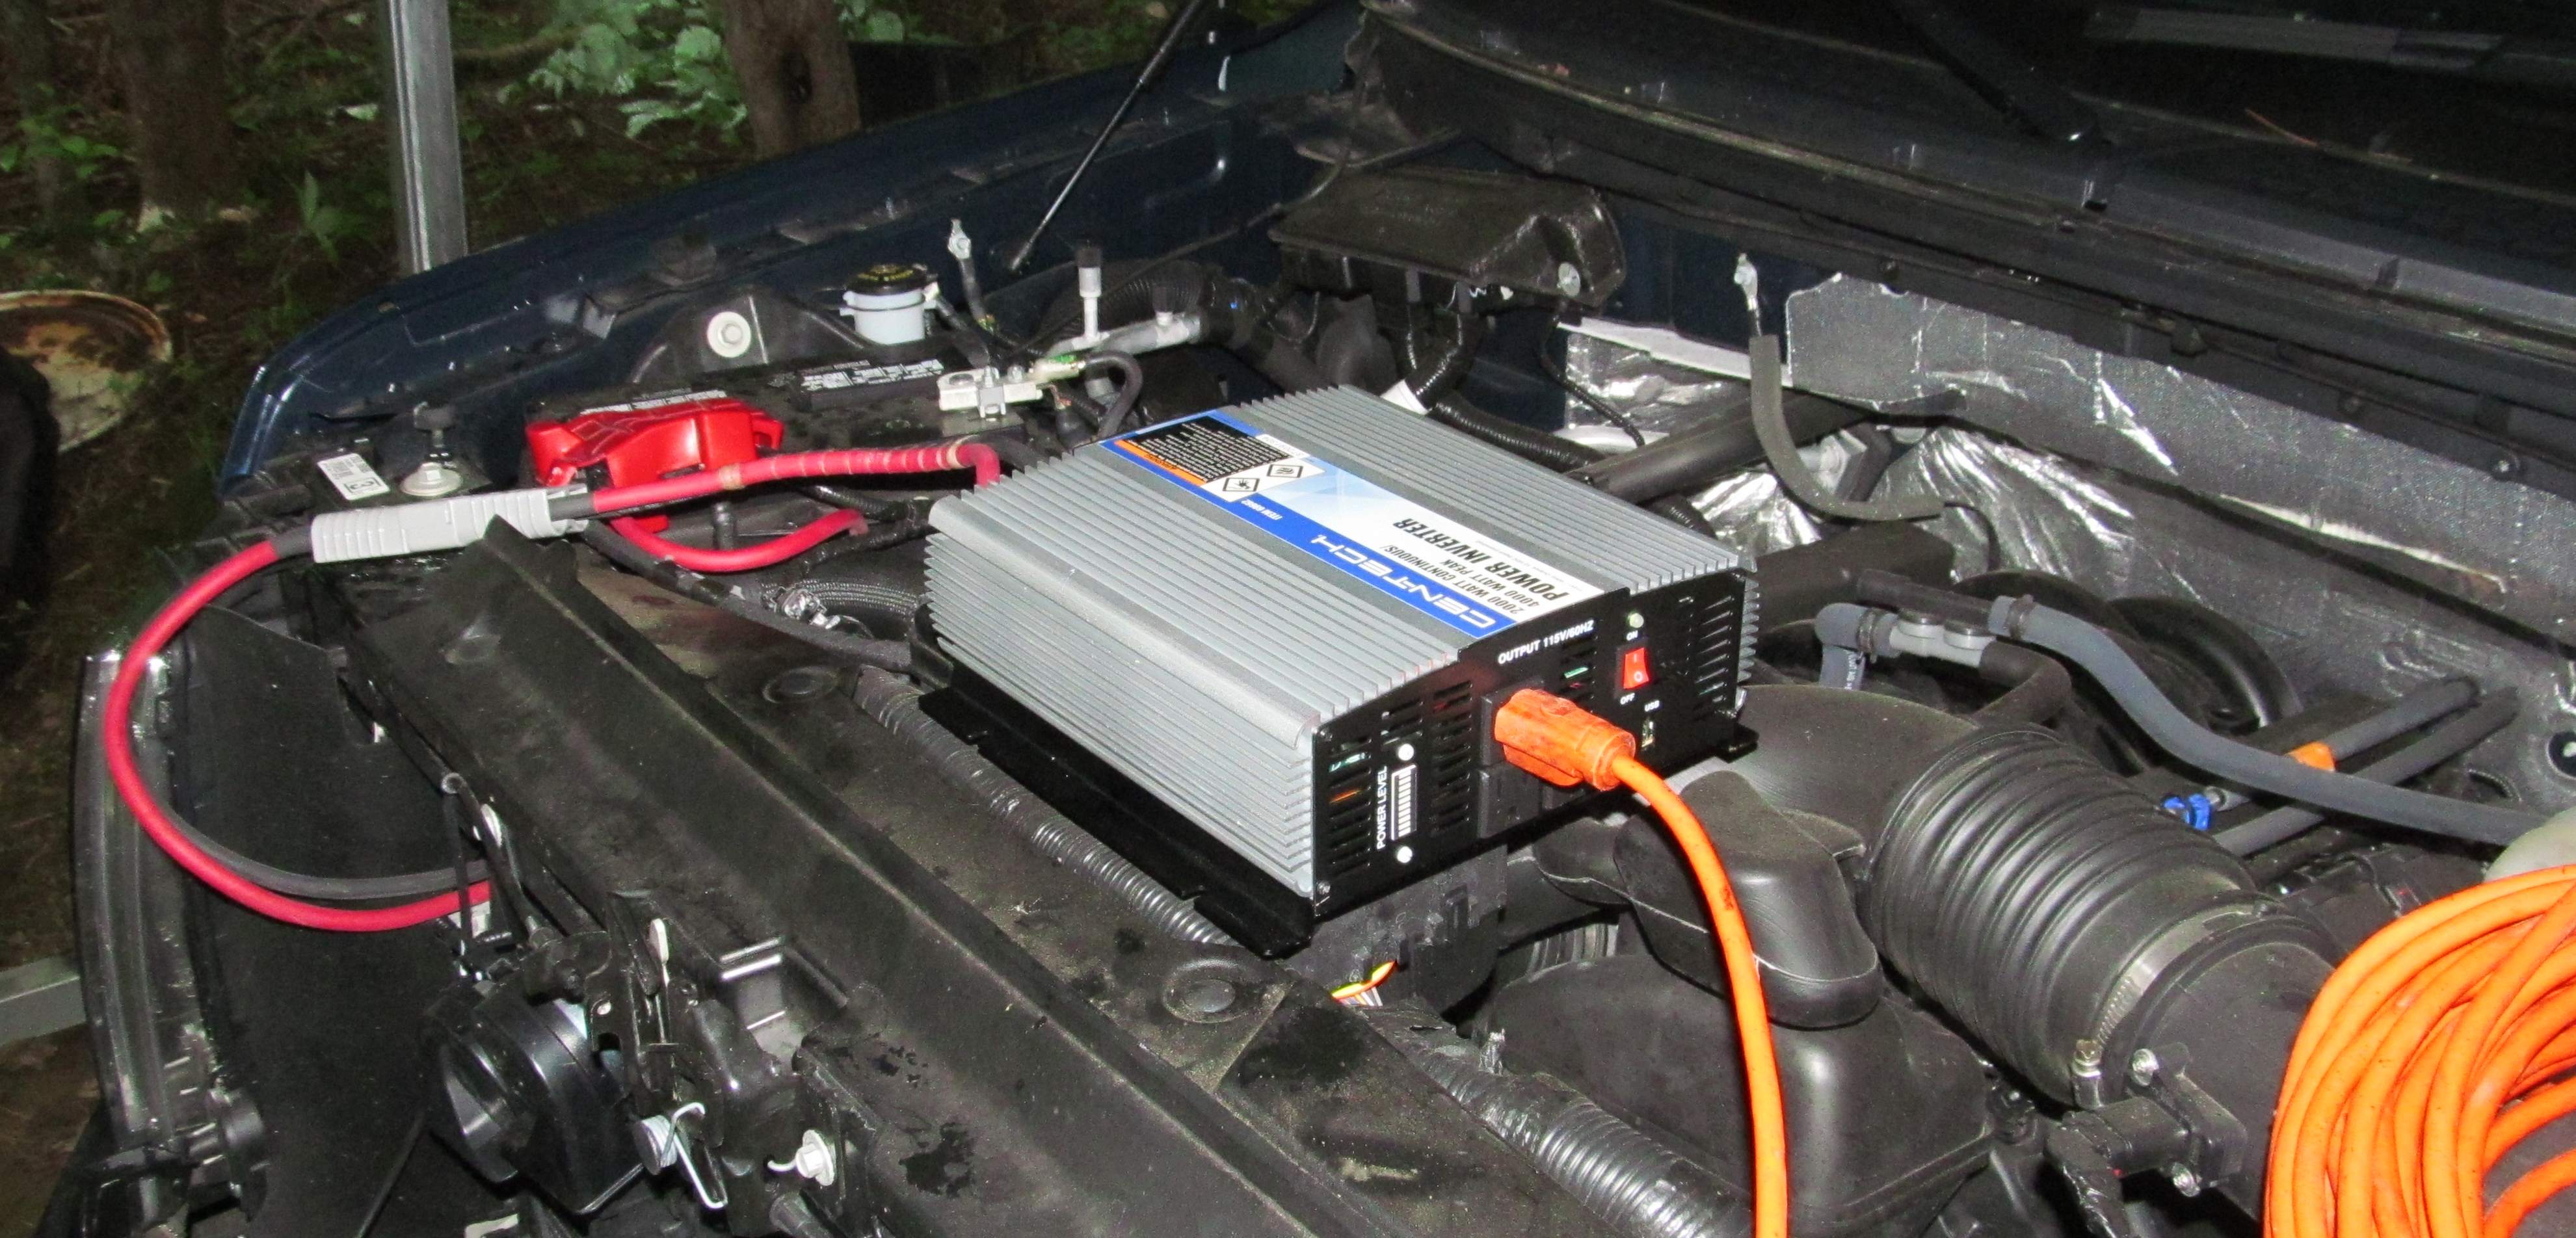


When the heater is turned on, there is no noise, no sparks and no flame. In fact, you might notice from the photo above that I'm doing the work - quite safely - on top of the battery. The white stuff is a refractory board that is heat proof.


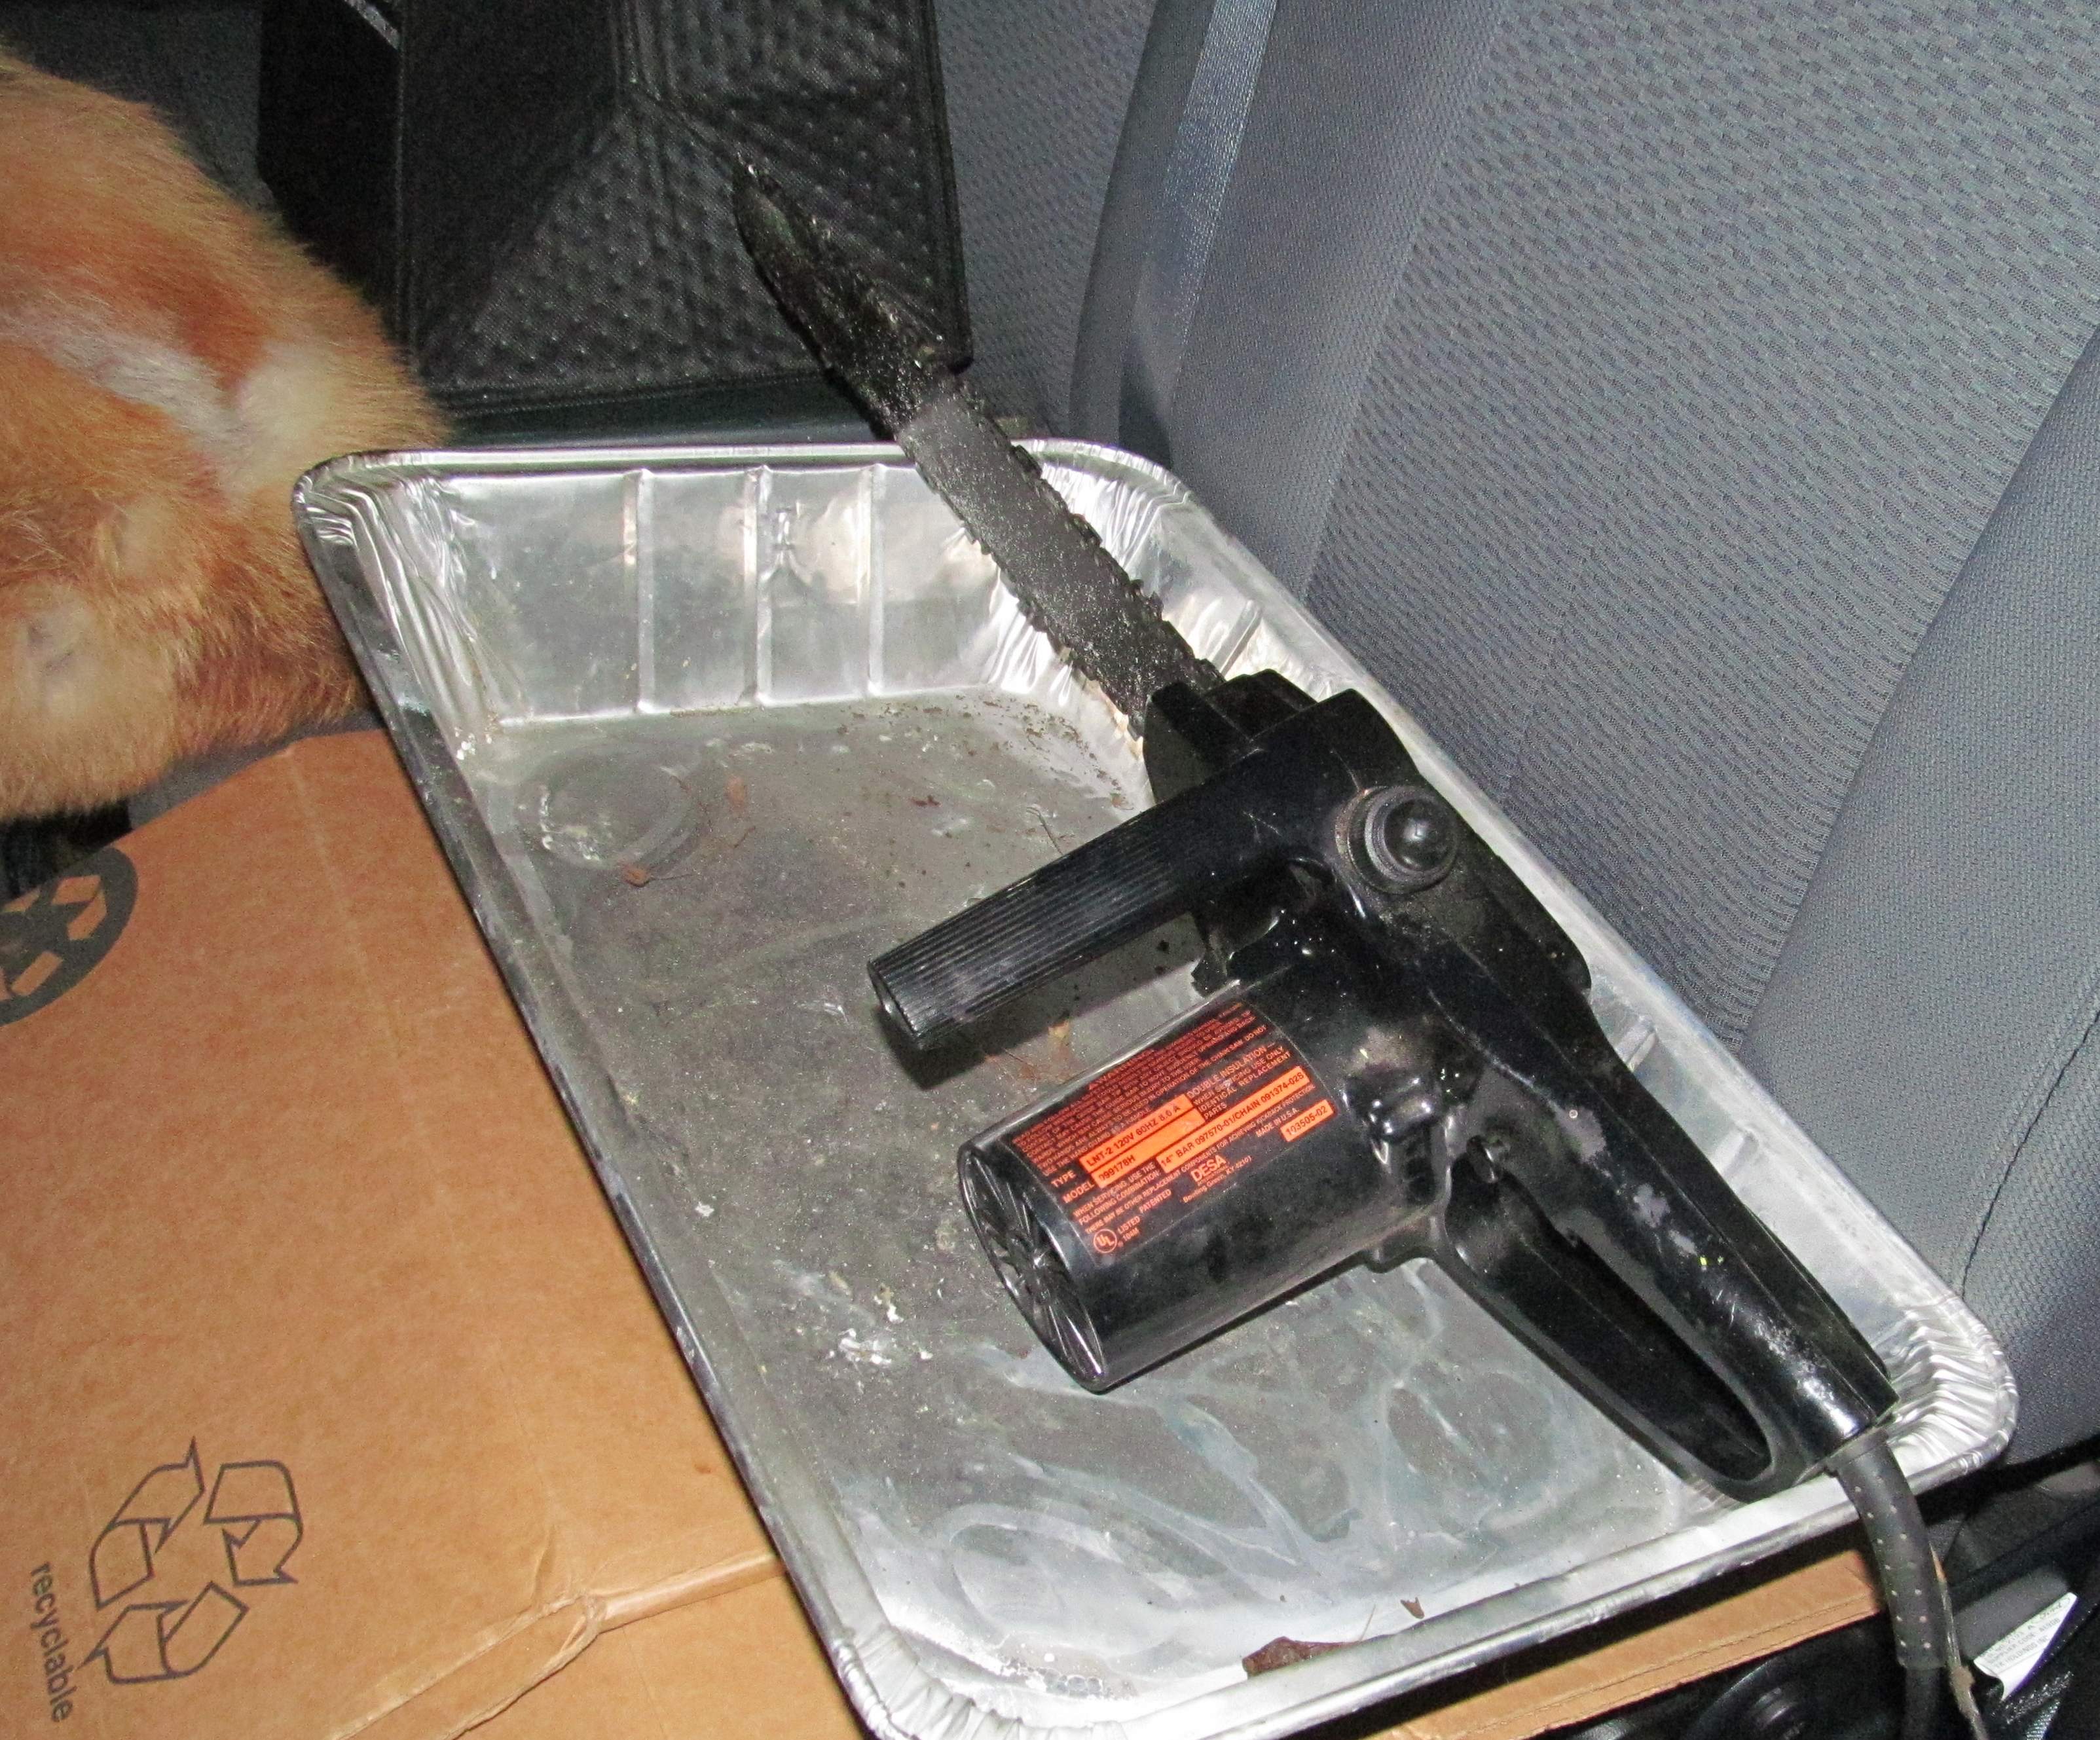
The steam table tray is a handy way to transport the saw and keep grease and oil off the upholstery. As soon as I get a truck bed toolbox, the saw and inverter will go back there but for now it just sits in the back seat.